Ingredients
Roasted Squash
- 1 delicata squash, seeded and cut into half rings
- 2 tbsp olive oil
- 1 tsp chili powder
- 1 tsp garlic powder
- 1 tsp cumin
- 1 tsp paprika
Crispy Tortilla Strips
- 4 corn tortillas
- 2 tbsp olive oil
- Juice of ½ lime
- 1 tsp cumin
- Salt to taste
Other Fillings
- 3 cups kale, rinsed, de-stemmed, and roughly chopped
- 1 tbsp olive oil
- ½ lime
- Salt and pepper to taste
- 1 can of black beans
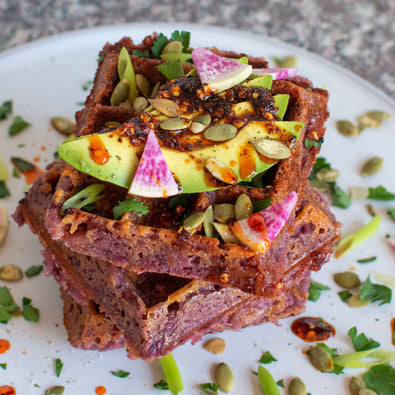
Toppings
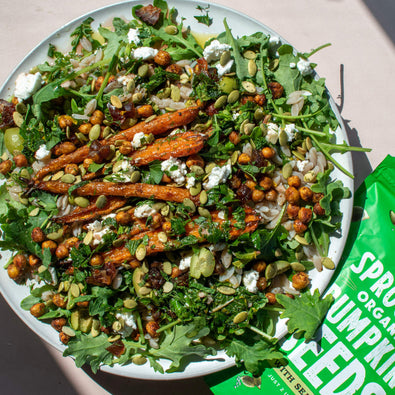
- ¼ cup Go Raw Sprouted Pumpkin Seeds
- 1 tbsps scallions, diced
- ½ avocado, sliced
Sauce
- 1 tsp chili powder
- 1 tsp paprika
- 1 tsp cumin
- Juice from 1 lime
- 6 tbsp vegan mayo
Directions
- Preheat the oven to 375°F.
- Toss the delicata squash with oil and spices and set on a baking sheet, being sure to leave space between each piece so the squash can get slightly crispy on the outside. Roast for about 30 minutes, checking for doneness regularly after 20 minutes. You will know they are done when they are light brown and crispy on the outside but tender on the inside.
- While the squash is cooking, prepare the crispy tortilla strips. Cut your corn tortillas into strips about 1 inches long and ¼ inch wide. Toss with oil, lime, cumin, and salt and lay flat on the baking sheet. Using the other tray in your oven, bake 5-10 minutes, checking regularly to make sure they don’t burn. Bake until your desired level of crisipiness is reached.
- Preheat a pan to medium heat. Add oil and kale, and saute until tender. While the kale is cooking, place the ½ lime cut side down in the pan to sear. Finish the kale with a squeeze of the seared lime and salt and pepper.
- Cook the black beans according to the instructions on the can.
- Make the sauce. Combine all ingredients until smooth. Add water if you prefer a thinner sauce.
- Assemble all elements of the bowl and add toppings.
Recipe and photo by Dana Plucinski
Products used in this recipe
-
Sprouted Pumpkin Seeds - 6 Bags, 14oz Each
 Sprouted Pumpkin Seeds - 6 Bags, 14oz EachRated 5.0 out of 5
- Regular price
-
$79.99 - Regular price
-
$89.94 - Sale price
-
$79.99
-
Sprouted Pumpkin Seeds - 6 Bags, 10 oz Each
 Sprouted Pumpkin Seeds - 6 Bags, 10 oz EachRated 5.0 out of 5
- Regular price
-
$54.99 - Regular price
-
$59.94 - Sale price
-
$54.99